Fumbling with lockboxes in the dark, texting frantic hosts for door codes, standing confused outside a smart lock at midnight. These are the moments that turn five-star stays into one-star reviews. The difference between a smooth arrival and a check-in nightmare often comes down to how clearly you communicate your access instructions, and the good news is you don't need to reinvent the wheel. Proven templates exist that you can adapt to your property in minutes, eliminating guest confusion and protecting your reviews before problems even start.
Self check-in has become the standard for short-term rentals, with over 87% of Airbnb listings now offering contactless entry. But offering self check-in and providing crystal-clear instructions are two very different things. Many hosts assume their access process is obvious, only to receive panicked messages from guests who can't find the lockbox, entered the wrong code, or don't understand how to activate their smart lock app. The solution isn't complicated technology, it's simple, thorough communication using templates that have been tested by thousands of successful hosts.
This guide provides copy-and-paste examples for every common self check-in method, from basic keypads to app-controlled smart locks. You'll get exact wording you can customize for your property, along with the critical details that prevent 95% of check-in issues. Whether you're setting up your first listing or refining instructions that aren't quite working, these templates will help you create the kind of seamless arrival experience that earns consistent five-star reviews. Airbnb welcome book template resources can complement these instructions with additional property information once guests are inside.
Why Self Check-In Instructions Matter
Clear self check-in instructions directly determine whether guests can access your property without stress, confusion, or emergency calls to you at inconvenient hours. The impact goes far beyond convenience, it fundamentally shapes your guest's first impression, your review ratings, and your ability to operate your rental with minimal hands-on intervention.
The cost of unclear instructions
Unclear check-in instructions create a cascade of expensive problems. Guests who struggle to enter your property will contact you for help, often during evening hours or when you're unavailable, creating immediate frustration on both sides. If they can't reach you quickly, many will contact Airbnb support directly, potentially triggering service fee refunds or resolution cases that damage your host standing. Even worse, some guests will simply leave negative reviews mentioning the check-in difficulty, which prospective guests read as a red flag about your overall communication and professionalism.
The financial impact compounds quickly. A single two-star review about check-in problems can reduce your booking rate by 8-15% according to hospitality analytics, costing you thousands in lost revenue over the following months. Emergency locksmith calls for locked-out guests cost $150-300 on average. Refunds processed through Airbnb resolution can reach 50-100% of the booking value. Meanwhile, your time spent troubleshooting preventable access issues carries an opportunity cost that most hosts never calculate but definitely feel.
What guests expect from self check-in
Modern travelers expect self check-in instructions that are comprehensive, visual, and available exactly when needed without searching through old messages. They want to know the exact property address (not just a map pin), specific parking instructions including any codes or permits, and step-by-step entry guidance that accounts for common mistakes. They expect photos showing what the lockbox, keypad, or door actually looks like, not vague descriptions that leave room for interpretation.
Guests also expect contingency information. What if the code doesn't work? What if their phone battery dies before they can open the smart lock app? What if they arrive after dark and can't see the lockbox location? Your instructions should anticipate these scenarios with backup contact methods, flashlight tips, and alternative entry procedures. The goal isn't to overwhelm guests with information, it's to make them feel confident that every possible scenario has been considered and solved in advance.
How instructions impact your reviews
Check-in experience appears in approximately 67% of all Airbnb reviews, either as praise for smooth arrival or criticism for confusing access. Guests who struggle with entry are primed to notice and mention other small issues throughout their stay, while guests who experience effortless check-in tend to overlook minor imperfections. This psychological anchoring effect means your access instructions don't just affect check-in ratings, they influence how guests perceive your entire property.
Positive reviews frequently use phrases like "check-in was seamless," "instructions were crystal clear," or "we got in without any issues" when hosts provide thorough templates. These comments signal to future guests that you're an organized, professional host who thinks ahead. Conversely, even one review mentioning check-in confusion raises doubts for dozens of potential bookers who see it and wonder if they'll face the same problems. Investing thirty minutes to create bulletproof instructions protects months of positive reviews that drive your booking success. You can learn more about maximizing positive feedback in our guide on how to earn positive reviews.
Essential Elements Every Template Needs
Every effective self check-in template must include four core components: the exact property address with parking details, numbered step-by-step access instructions, visual documentation, and immediate-need information like WiFi credentials. Missing any of these elements creates gaps where confusion and frustration grow.
Property address and parking details
Always provide the complete street address with any apartment, unit, or building numbers formatted exactly as they appear on the property. Include cross streets or landmarks for properties that are difficult to locate via GPS alone: "We're the blue house on the corner of Maple and 5th, across from the fire station." For rural properties, add GPS coordinates as a backup since mapping apps sometimes struggle with rural addresses.
Parking instructions should specify whether guests park in a driveway, garage, street, or designated lot. Include any gate codes, parking permits, or restrictions: "Park in the driveway on the right side. Do not park in front of the garage door as the neighbor uses it for access." If street parking requires permits or has time restrictions, state this clearly and provide permit information if applicable. Guests arriving after long flights don't want to decipher parking mysteries, they want to know exactly where to leave their car without risk of tickets or towing.
Step-by-step access instructions
Number each step of the entry process sequentially, starting from where guests will be standing when they arrive. Use concrete language: "Walk to the front porch" instead of "Approach the entrance." Specify left versus right, above versus below, and use measurements when helpful: "The lockbox is mounted 5 feet high on the left side of the door frame."
Break complex processes into smaller steps. Instead of "Enter the code and turn the handle," write: "1. Press the numbers 4-7-9-2 on the keypad. 2. Wait for the green light and beep. 3. Turn the handle clockwise and push the door open." This granular approach prevents guests from skipping steps or misunderstanding the sequence. Include sensory cues like "you'll hear a click" or "the light will turn green" so guests know when they've completed a step correctly.
Visual aids and backup contact info
Include at least 2-3 photos showing the exterior of your property (so guests confirm they're at the right location), the lockbox or keypad location with a close-up, and the door handle or entry point. Take photos during daytime and add a note about what guests should look for at night: "At night, turn on your phone flashlight and look for the black lockbox mounted left of the door."
Provide your phone number with instructions on when to call: "If you have any trouble accessing the property, call or text me at (555) 123-4567. I'm usually available between 8am-10pm and respond within 15 minutes." Consider adding a backup contact like a co-host or local property manager for times when you're unavailable. This backup plan reassures guests and prevents small access issues from escalating into Airbnb support cases.
WiFi credentials and first-night essentials
Include WiFi network name and password directly in your check-in instructions so guests can connect immediately upon arrival. Format it clearly: "WiFi Network: SunsetCottage5G / Password: Welcome2024!" This prevents the common scenario where guests enter, drop their bags, then search frantically through messages trying to find the WiFi password they saw three days ago.
Add brief notes about first-night essentials: "The thermostat is in the hallway, the bathroom is the first door on the right, extra towels are in the closet." This orientation information helps guests settle in quickly without exploring or contacting you with basic questions. You can provide more detailed information about amenities, recommendations, and house rules through a comprehensive digital guidebook for Airbnb that guests can reference throughout their stay.
Ready to create professional check-in instructions that guests actually follow? Build a complete digital guest guide with templates, photos, and all your property information in one easy-to-share link.
Start for freeKeypad Lock Instructions Template
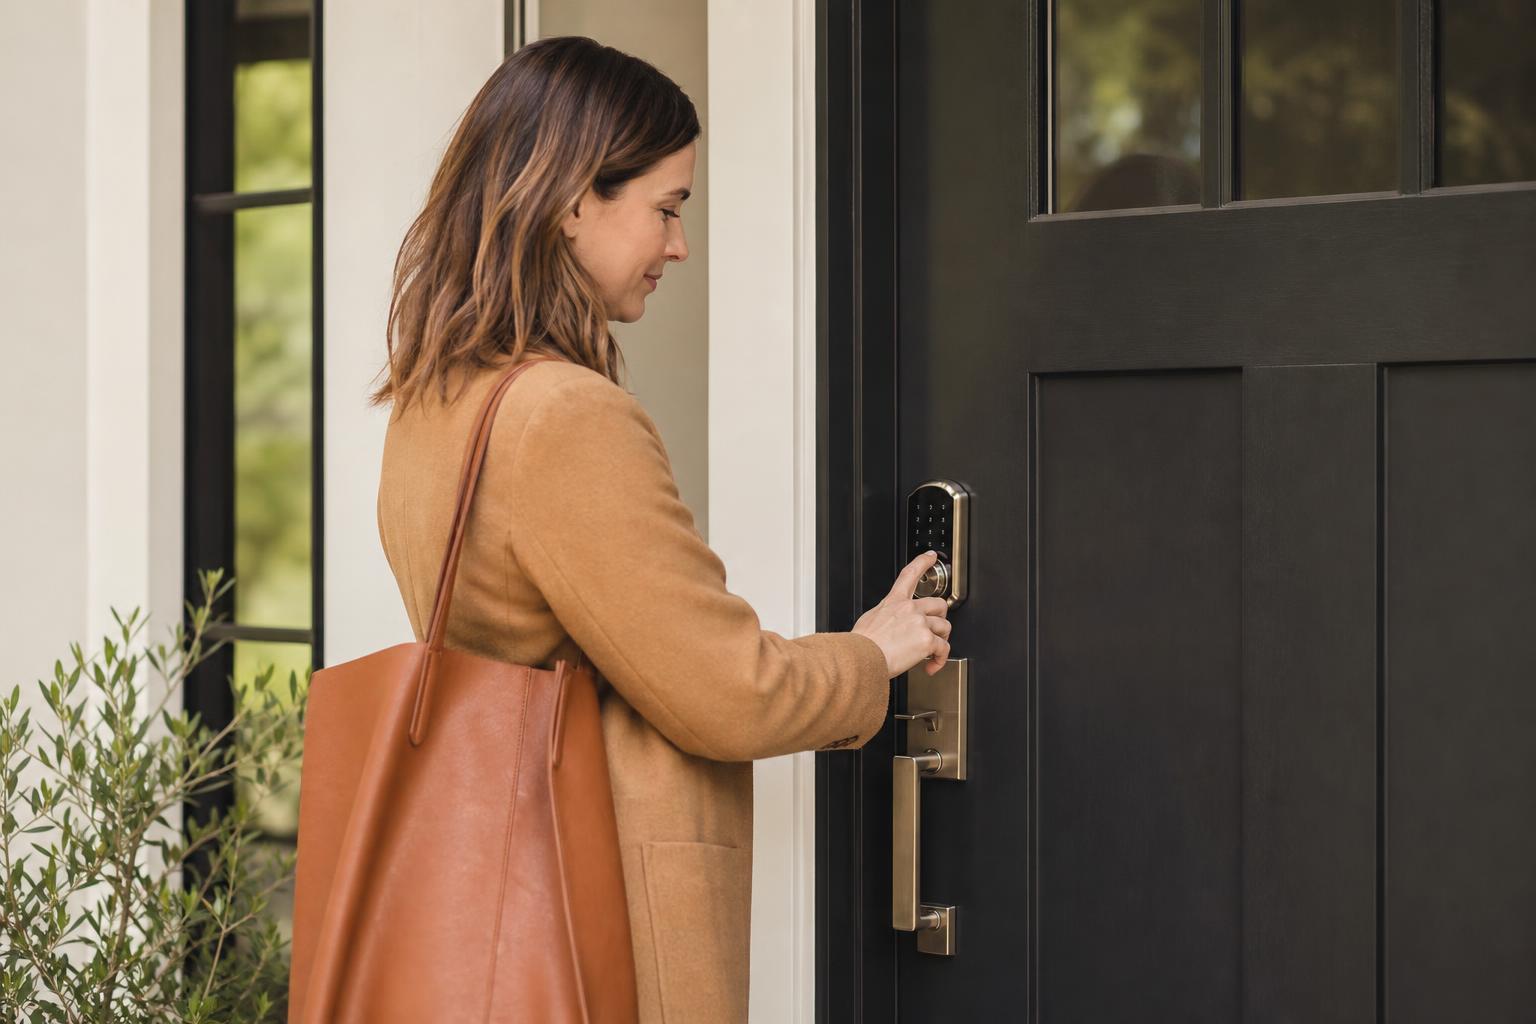
Keypad locks represent the most reliable self check-in method because they require no apps, physical key exchanges, or battery-dependent technology beyond the lock itself. Here's a template you can customize with your specific details.
Copy-paste example for numeric keypads
Template: "Welcome! Here's how to access [Property Name]: The front door has a numeric keypad lock. Enter the code 5-2-8-1 and press the checkmark button. You'll hear a beep and see a green light. Turn the handle clockwise and push the door open. If you make a mistake entering the code, press the X button to clear it and start over. The door locks automatically when you close it, no need to do anything special when leaving. The code will change after your checkout, so you don't need to worry about security when you leave."
Customize this template by replacing the code with your actual access code, adjusting the button names to match your specific keypad (some use "OK" instead of checkmark, or "C" instead of "X"), and adding any property-specific details like "The keypad is located to the right of the door handle" or "In direct sunlight, you may need to shade the keypad with your hand to see the screen clearly."
Smart lock code instructions
Template: "Your entry code is 7-4-9-3. On the keypad, press each number clearly and wait for the beep after each digit. After entering all four numbers, the lock will beep twice and unlock automatically. Turn the handle and enter. The lock re-locks when you close the door. Your code is active from [check-in time] on [date] until [checkout time] on [date]. After checkout, this code will no longer work."
Many smart locks like August, Schlage Encode, or Yale Assure allow you to create temporary codes for each guest. Always specify when the code activates and expires so guests don't try using it too early or worry about security after they leave. If your smart lock has app functionality but also supports keypad codes, always provide the keypad option as the primary method since it doesn't require guests to download anything or have phone battery.
Common keypad troubleshooting tips
Include these troubleshooting steps at the end of your keypad instructions: "If the code doesn't work: 1) Make sure you're pressing each button firmly until you hear a beep. 2) Wait one second between each number. 3) If you see a red light or hear multiple beeps, press the X or C button to clear the entry and try again. 4) Check that you're entering the numbers in the correct order: [repeat the code]. If you still can't enter after two attempts, call or text me at [your number] and I'll help you immediately."
The most common keypad issues are user error (entering numbers too quickly, wrong sequence) or low batteries. If you maintain your keypad locks properly with battery changes every 6-8 months, code entry problems are rare. Still, providing clear troubleshooting steps prevents guest panic and gives them confidence to solve minor issues themselves before contacting you.
Lockbox and Key Instructions Template
Physical lockboxes remain popular for properties where installing electronic locks isn't feasible or for hosts who prefer the simplicity of traditional keys. The key is describing the lockbox location and operation so precisely that guests find and open it on the first attempt.
Physical lockbox example message
Template: "Your key is in a lockbox mounted on the fence to the left of the front gate. The lockbox is black and about the size of a smartphone. To open it: 1) Locate the four dials on the front. 2) Rotate each dial to spell the combination C-O-D-E (from left to right: C on the first dial, O on the second, D on the third, E on the fourth). 3) Pull down on the metal shackle at the top. The door will swing open and you'll see a silver key inside. 4) Use this key to unlock the front door. When you leave, return the key to the lockbox, scramble the dials, and make sure the shackle clicks closed."
Adjust this template based on your lockbox type. Combination lockboxes use letters or numbers on rotating dials. Push-button lockboxes require pressing buttons in sequence then pulling the door open. Realtor-style lockboxes with a curved shackle need you to pull the shackle down after entering the code. Be extremely specific about which direction to turn dials, which buttons to press, and what "open" looks like, since these vary by model.
Key location and return instructions
Always tell guests exactly what to do with the key during and after their stay: "Keep the key with you whenever you leave the property. When you check out, place the key back in the lockbox, close the lockbox door firmly until you hear it click, and scramble the combination dials so the next guest can't accidentally open it with the old combination."
For properties where guests need to return keys to a specific location instead of a lockbox (like dropping keys through a mail slot or leaving them on a kitchen counter), state this in your check-out instructions and repeat it in a reminder message the day before departure. Key-related checkout confusion is one of the top reasons hosts can't access their property for cleaning, so over-communicate these expectations.
Photo documentation best practices
Take three photos for lockbox instructions: one wide shot showing the lockbox location relative to the door or gate, one close-up of the lockbox itself, and one showing the combination dials or buttons. Annotate these photos with arrows or circles highlighting the lockbox if it's camouflaged among outdoor fixtures, painted the same color as your wall, or otherwise difficult to spot.
Consider taking photos at different times of day. A lockbox that's obvious in afternoon sunlight might be nearly invisible at night. If guests frequently arrive after dark, take a photo using your phone's flashlight to show what they'll actually see. Add a caption: "This is what the lockbox looks like when lit with a phone flashlight at night." These small