Your guest has just landed at the airport, luggage in hand, phone battery at 40%, and no clear idea how to reach your property. This moment determines whether they arrive relaxed and ready to enjoy their stay or frustrated before they even cross your threshold. Airport arrival instructions are the most overlooked yet critical component of your check-in process, requiring you to think beyond simple address details and guide guests through three distinct navigation legs they'll encounter between wheels-down and front-door access.
Most hosts send a property address and assume GPS will handle the rest. That assumption costs bookings, creates negative reviews, and generates dozens of panicked messages during your busiest hours. A complete arrival guide bridges the gap between unfamiliar territory and confident navigation, giving guests the security they need to choose your property over competitors. When you provide clear directions from the moment they step off the plane, you eliminate the single biggest source of check-in anxiety.
Why Airport Arrival Instructions Matter
Airport arrival instructions matter because they prevent the confusion that leads to cancellations, late arrivals, and poor reviews. Unlike local guests who know the area, travelers arriving by air face compounded navigation challenges: unfamiliar airports, unknown transportation systems, and geographic disorientation all before they attempt to locate your specific property. These instructions aren't just helpful, they're the foundation of a smooth guest experience.
The Cost of Confusing Directions
Every unclear direction creates a cascade of problems. Guests send urgent messages asking for clarification precisely when you're least available to respond. They arrive late, throwing off your cleaning schedule and creating tension before they even meet you. Worst of all, that initial frustration colors their entire perception of the stay, making them hyper-critical of minor issues they'd otherwise overlook. One host survey found that arrival complications directly contributed to 40% of three-star reviews, even when the property itself exceeded expectations.
The financial impact extends beyond reviews. Guests scrolling through listings actively seek properties with detailed arrival information in the description or house rules section. When they see vague phrases like "easy airport access" without specifics, they assume you haven't thought through the guest experience. Properties with comprehensive self check-in instructions convert browsers to bookers at measurably higher rates, particularly among first-time visitors to your city.
What Makes Airport Instructions Different
Airport instructions require a different approach than standard navigation because they start in controlled transportation hubs with specific exit points, signage systems, and ground transport areas. Your guest isn't simply driving to an address, they're navigating institutional spaces designed for efficiency rather than intuition. Terminal layouts change, ride-share pickup zones relocate, and public transit stops often sit in unexpected locations relative to baggage claim areas.
Time pressure intensifies the challenge. Guests juggle luggage, check flight updates, and process new surroundings simultaneously. They need instructions that account for this cognitive load, offering decision trees rather than single-path directions. The best airport guides anticipate questions before they arise and provide backup options for every transportation choice.
Three Legs Every Guest Navigates
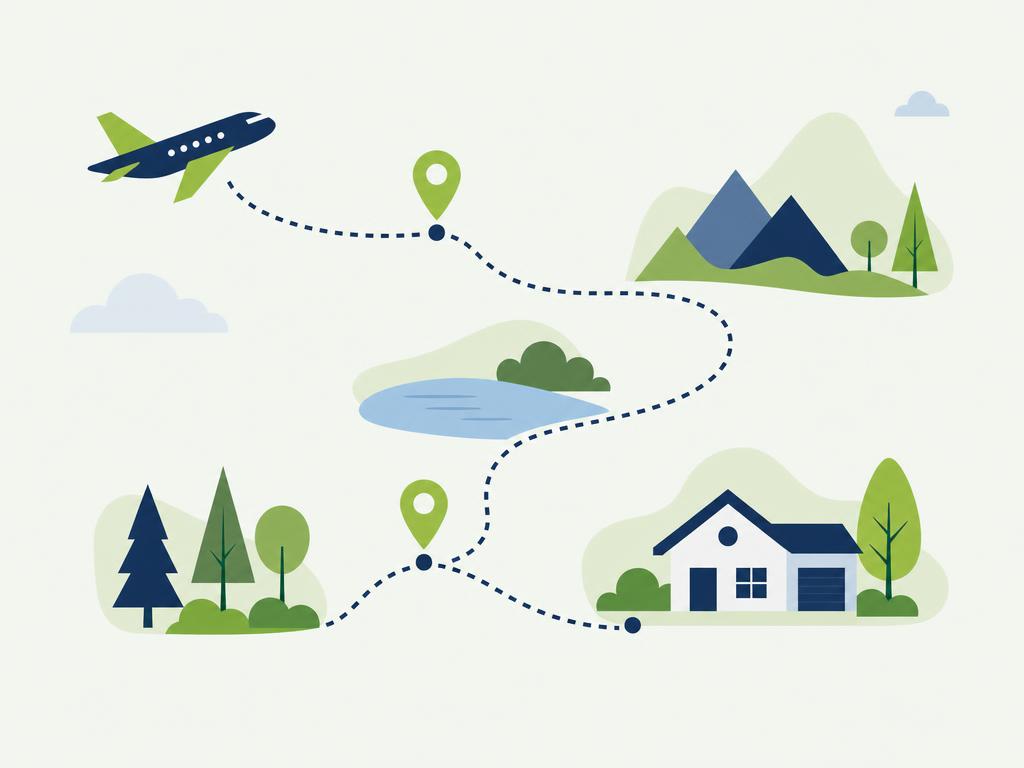
Every airport arrival breaks into three distinct navigation phases, each requiring different information types. The first leg moves guests from their arrival gate through baggage claim to ground transportation. The second leg covers the journey from airport to your neighborhood using their chosen transport method. The third leg guides them from street level to your actual front door, including parking, building entry, and final access steps. Hosts who master all three legs eliminate nearly all arrival-related confusion and create genuinely stress-free experiences.
Ready to create arrival instructions your guests will actually follow? Build a comprehensive digital guest guide with step-by-step directions, photos, and all the details travelers need.
Start for freeLeg One: Airport Exit to Transportation
The first leg involves guiding guests from their arrival gate through baggage claim to the correct ground transportation area. This section eliminates the confusion that happens in those critical first fifteen minutes after landing, when guests feel most disoriented and overwhelmed by unfamiliar surroundings.
Identify Your Airport Layout
Start by researching your nearest airport's specific layout and documenting the path from typical arrival gates to ground transportation. Most airports publish terminal maps online, but the real insight comes from walking the route yourself or reviewing recent guest feedback. Note which terminal handles which airlines, where baggage claim carousels sit relative to exits, and any architectural features guests can use as landmarks.
Include terminal-specific information in your instructions. If your airport has multiple terminals, tell guests which terminal their airline typically uses and how to navigate if they arrive elsewhere. Mention that Terminal A connects to Terminal B via underground walkway, or that international arrivals must clear customs in the main terminal before accessing ground transport. These details prevent guests from waiting at the wrong pickup location for thirty minutes before realizing their mistake.
Direct Guests to Ground Transportation
Once guests have their luggage, they need clear directions to reach transportation options. Specify whether ride-share services pick up at designated zones (increasingly common), curbside at specific doors, or on different levels than traditional taxis. Many airports now require app-based rides to use separate areas from taxi stands, and guests unfamiliar with these policies waste significant time searching in the wrong location.
Use official signage language in your directions. Instead of saying "go to the ride-share area," say "follow signs for App-Based Rides or TNC (Transportation Network Company) Pickup." This matches what guests actually see on airport signs and builds their confidence that they're heading the correct direction. When appropriate, include simple instructions like "exit baggage claim, turn right, take elevator to Level 1, follow yellow signs."
List All Transportation Options with Costs
Provide a comprehensive list of every viable transportation option with current approximate costs and booking methods. Include ride-share services (Uber, Lyft with estimated fare ranges), traditional taxis (metered or flat-rate), public transit (specific bus or train lines with ticket prices), airport shuttles (if serving your area), and rental cars (if relevant). Guests appreciate knowing their options before landing so they can make decisions based on budget and comfort level.
Update these costs quarterly, as they change with fuel prices and local regulations. Frame costs as ranges rather than exact amounts: "Uber typically costs $35-$50 depending on traffic and surge pricing" proves more accurate than "$40 flat." For public transit, include where to purchase tickets and whether they accept cash, cards, or require a specific transit app. Your check-in message template can reference this section, ensuring guests receive transportation details at the optimal time.
Leg Two: Transportation Route to Property
The second leg covers the actual journey from airport to your neighborhood, requiring route-specific details for each transportation method you listed. This section transforms general options into actionable directions guests can follow with confidence, regardless of which transport mode they choose.
Write Clear Directions for Each Mode
Create separate direction sets for each major transportation type because each requires different wayfinding information. For ride-share and taxi users, provide your exact address formatted as it should be entered into navigation apps, plus any necessary clarifications like "use the James Street entrance, not the Main Street entrance shown on some GPS systems." Mention if your property has a specific building name that helps drivers locate it.
Public transit directions need much more detail. Specify which train or bus line to take, the direction of travel (northbound, toward downtown, etc.), exactly where to board at the airport, how many stops until yours, and which exit to use at your station. Include backup options if service interruptions occur. For example: "Take the Blue Line toward Downtown, exit at State Street Station (4th stop, approximately 20 minutes), use the south exit toward Park Avenue."
Add Travel Time and Traffic Notes
Include realistic travel times for different periods and days. Airport traffic patterns vary dramatically between weekday rush hours, weekend afternoons, and late nights. Tell guests that the journey takes 25 minutes with normal traffic but can extend to 50 minutes during weekday evening rush (4-7 PM). These expectations prevent frustration and help guests plan their check-in timing appropriately.
Note any route-specific challenges worth mentioning. If construction currently affects the main highway route, suggest the surface street alternative. If public transit runs on reduced schedules after 10 PM or doesn't operate on Sundays, guests need this information before they land. Seasonal considerations matter too: mention if beach traffic doubles travel time on summer weekends or if winter weather often delays certain routes.
Include Landmark and GPS Coordinates
Supplement addresses with distinctive landmarks visible from the road. Tell guests they'll pass the historic courthouse on the right just before your street, or that your building sits across from the waterfront park with the red lighthouse. These landmarks give guests confidence they're on the right track and help them recognize their destination from a block away.
Provide GPS coordinates in addition to your street address, especially if you're in a rural area, new development, or location where GPS sometimes defaults to the wrong spot. Include coordinates in decimal degree format (40.7128, -74.0060) since that's what most navigation apps accept. Some hosts find that what3words addresses provide even more precise location sharing, particularly useful for properties with challenging access points.
Leg Three: Street to Front Door Access
The final leg guides guests from street level through any building entry systems to your actual front door, including every physical step they'll take and every code they'll need to enter. This section eliminates the last-minute confusion that generates those "I'm outside but can't find the entrance" messages right at check-in time.
Describe Building Identification Features
Help guests identify your building from the street using specific visual details. Don't just say "it's a blue house," specify "two-story blue Victorian with white trim and a wraparound porch, house number 847 clearly visible on the mailbox." For apartments, describe the building's appearance, how many stories it has, and what businesses or features sit nearby. Mention if your building looks different from its street view photo due to recent renovations or seasonal landscaping changes.
Include a photo of your building's exterior in your guest guide if possible. A single image of what guests should look for eliminates more confusion than paragraphs of description. Capture the photo from the perspective guests will have when approaching, showing the street number clearly visible and any entry points they'll use. Your digital guidebook makes sharing these visual aids seamless and accessible on mobile devices.
Detail Parking and Entry Points
Provide explicit parking instructions before addressing door access, since guests need to park before they can enter. Specify whether they should use street parking (include any permit requirements or time restrictions), a driveway (note if it fits larger vehicles), a parking garage (explain how to access it and which spaces are designated for guests), or a lot (mention if it's gated and requires a code).
Then walk through the entry sequence step by step. For houses, this might be straightforward: "Park in the driveway, walk to the red front door, use the lockbox mounted on the right side of the doorframe." For apartments or condos, break down every barrier they'll encounter: "Park in Lot B behind the building, enter through the glass doors facing the parking lot (they're unlocked 6 AM to 10 PM), take the elevator to the third floor, turn left out of the elevator, apartment 3C is the second door on your right."
Provide Final Access Instructions and Codes
Deliver all access codes, lockbox combinations, or smart lock instructions in a clear, numbered sequence matching the order guests will use them. If they need a building entry code before a unit code, list them in that order with clear labels. Use formatting that's easy to read on a phone screen: "Building code: 4782# | Unit code: 829563."
Include troubleshooting notes for common access issues. Mention if the front door sticks and requires a firm push, if the lockbox sometimes needs the combination entered twice, or if smart locks require guests to hold their phone directly against the reader. These small details prevent guests from assuming the code doesn't work when they simply need to adjust their technique. Consider creating a backup contact plan in case access problems occur despite clear instructions.
Conclusion
Creating comprehensive airport arrival instructions transforms the guest experience from stressful uncertainty into confident navigation. By breaking the journey into three distinct legs and providing detailed, option-rich guidance for each phase, you eliminate the confusion that leads to negative reviews and endless message chains. Your guests arrive relaxed, impressed by your attention to detail, and ready to enjoy their stay rather than recovering from arrival frustration.
The investment in creating these instructions pays dividends through higher booking conversion, better reviews, and dramatically reduced guest communication. Properties with thorough arrival guides stand out in competitive markets because they demonstrate genuine hospitality before guests even arrive. As you refine your directions based on guest feedback, you'll discover that the time spent upfront saves hours of reactive problem-solving later. A well-crafted welcome book template incorporating these arrival instructions becomes one of your most valuable operational assets.
Ready to eliminate arrival confusion and impress every guest from wheels-down to front-door access? Create your comprehensive digital guest guide today and give travelers the confident arrival experience that earns five-star reviews and repeat bookings.